
After travelling non-stop for over two-and-a-half years, we’ve welcomed the chance to set up a semi-permanent home in London in 2017. Aside from unlimited cups of tea and a fridge which we don’t have to share with a rag-tag bunch of backpackers, it has afforded us the opportunity to create a dedicated work-space for Along Dusty Roads.
To understand how important and refreshing that is for us, perhaps you need to understand that our only ever ‘office space’ throughout the lifespan of the blog has been, variously, coffee shops and hostel common areas throughout Latin America and Europe alongside a few house-sits here and there. Sometimes this environment is fantastic for creativity and sociability, but often – with unreliable wi-fi, crowd-sharing the only plug sockets and someone deciding to start a game of beer pong on the next door table – it hasn’t always been ideal.
And so, in our little corner of east London, we relished being able to put together our own pinterest-worthy work space.

Buying a computer was the hardest part of the process. We wanted a Mac (everyone wants a Mac), but after doing a lot of research over a number of weeks, we decided that establishing our priorities first and foremost (rather than spending all our money on something slick and irresistibly designed to sit alongside our succulents) was key. Fundamentally, as well as something on budget, we needed decent storage space for our photography requirements in the medium and long-term; our two Macbook Pros laptops are so crammed full of photos and (as yet unedited) video and we couldn’t simply keep on buying hard drive after hard drive to tide us over. Aside from space restrictions, it meant that the whole work flow to create a beautiful post was stop-start and took, by a conservative estimate, at least twice as long as it should simply because our equipment wasn’t up to scratch.
We eventually took the plunge and invested in a desktop (how 90s!) tower which had not one, not two but THREE TERABYTES of hard drive for us to fill up with thousands upon thousands of our RAW photo files.
The change was dramatic and our workflow benefitted greatly from such an upgrade in hardware. We’re still not the biggest fans of a Windows interface and usability in comparison with a Mac, but given the amount we saved and the improved specs we gained as a result, we were more than happy with our decision.
However, we had made one fatal error.
By focussing so much on the specs of the computer hardware, we had totally neglected the importance of our monitor. Weeks were spent looking for the right computer, but the decision for the monitor was made in a matter of hours – plumping for something which suited our budget, rather than our requirements as travel photographers and budding (we’ll get there eventually) videographers.
The screen we bought, a 23-incher at just over £100, was not fit for purpose. If it was only required for checking e-mails, writing articles and browsing the internet, its flaws wouldn’t have been quite so apparent. However, when editing our photos to create and curate a post about our visit to Chernobyl, it was next to useless. The colour spectrum, the brightness, the apparent matte-coating on the screen itself – in optimal lighting conditions it was a challenge, during gloomy winter afternoons, we simply couldn’t do or see anything clearly. All the time gains we had made by upgrading to a computer with space and speed were lost by our decision to go with a sub-par monitor.
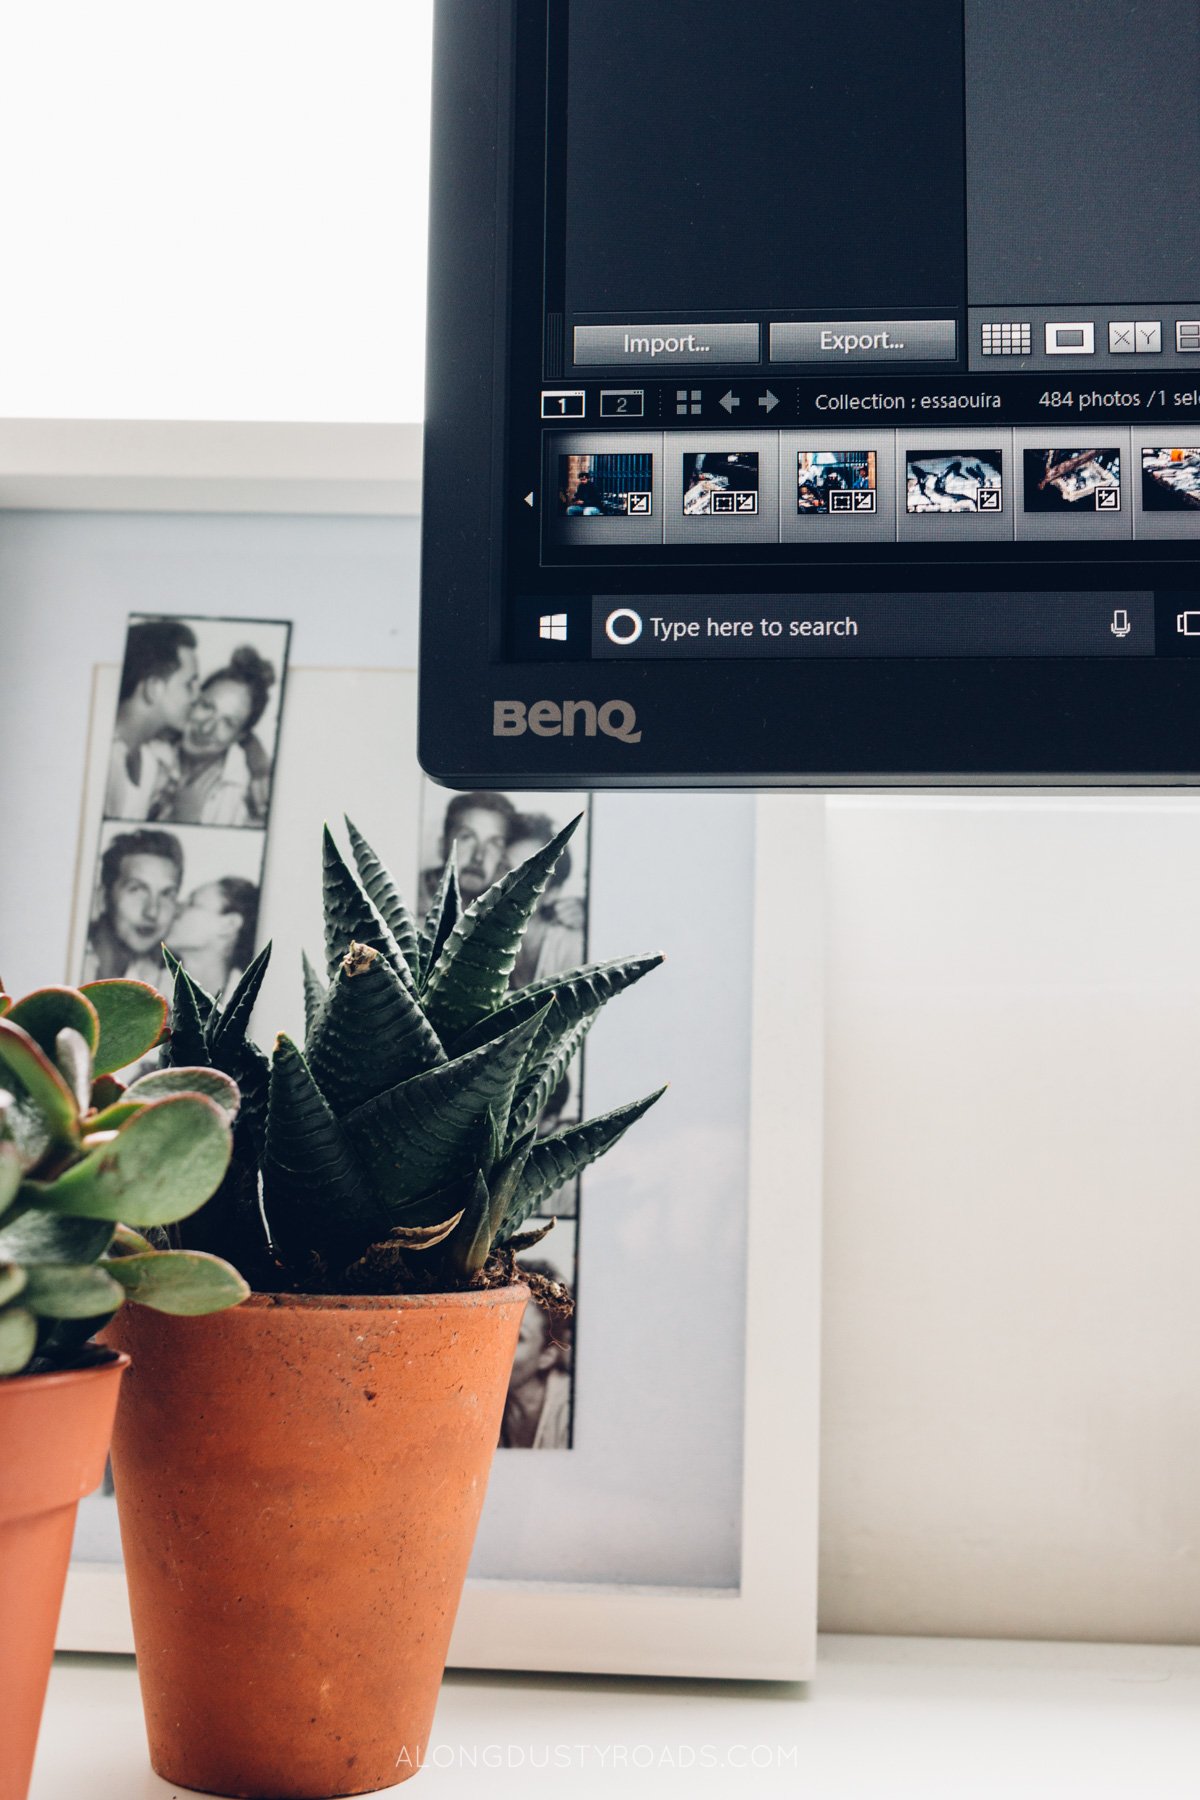
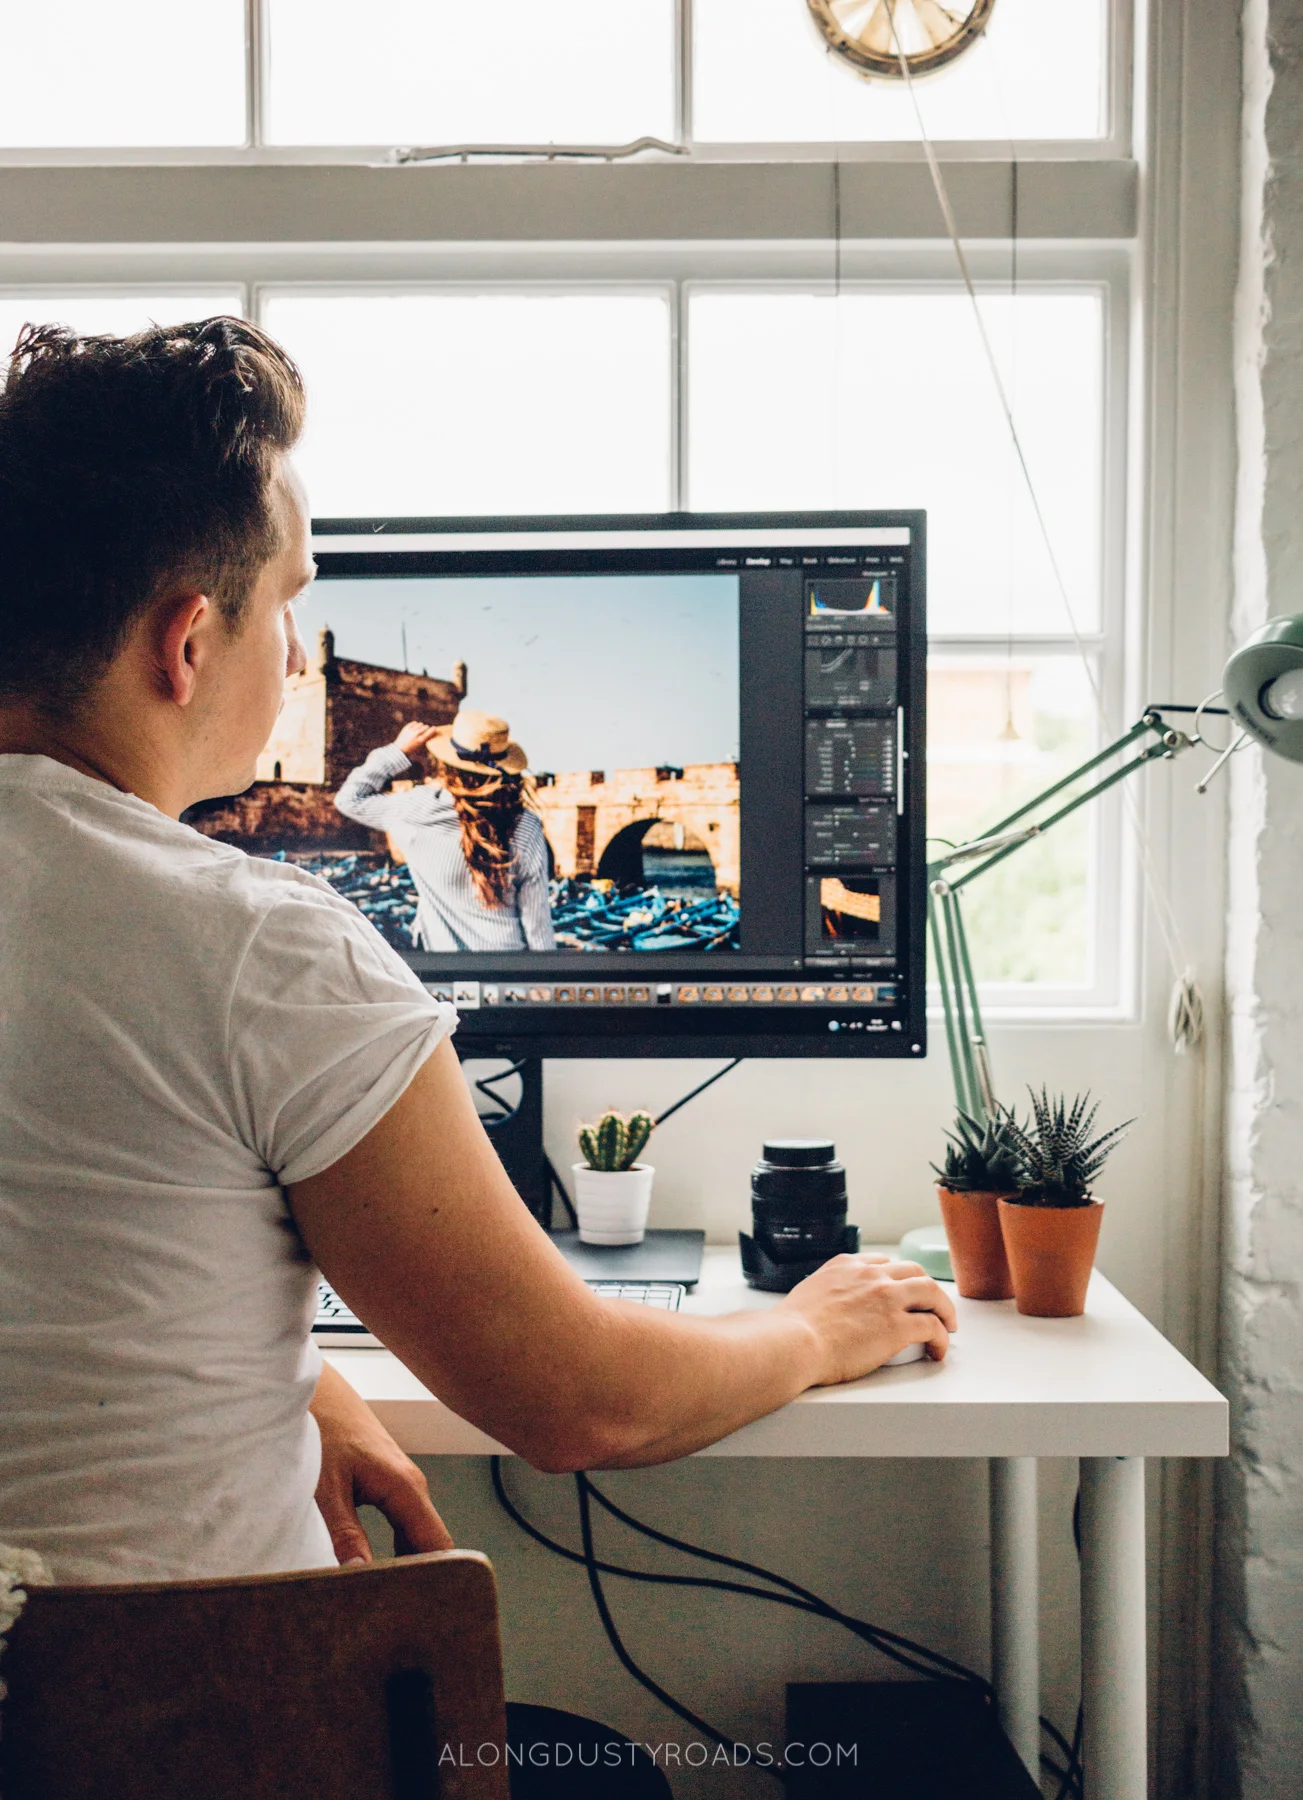
Due to this inefficiency in our workflow, changing over to the 32-inch PD3200Q BenQ Designer Monitor, was not just a ‘nice change’ but absolutely essential for our blog and business strategy. After installing it and opening up Lightroom for the first time, it was like switching a light on! We could see our photos for the first time ever - every wrinkle on an old Moroccan man’s smile, every blemish on a landscape, each and every texture in a marketplace scene – it all popped.
However, editing on a professional standard monitor gave us more than just improved visibility, definition and scale – it wholly transformed our editing process and perspective.
Without giving away too many secrets, we have a pretty set-in-stone workflow when editing our images in Lightroom. This saves us time and ensures that we manage to have a consistent aesthetic on images on our website and social media feeds, like Instagram.
The first revelation with the new large-sized and high definition 2k monitor was how quickly we were able to determine whether an image was usable or not. Previously, the only place we had seen our images would be on the camera screen (pre-edit) and then on our laptop’s 13-inch screen. Now, taking up a vast space in front of us, we could immediately see the actual quality of an image. In some cases, this was a bad thing as it meant that some of our ‘banker’ images turned out to be duds – the focus was in the wrong place or it was actually blurry rather than as crisp as it appeared on other screens. Despite this making us paranoid about how many less-than-perfect images we had published over the years, it actually resulted in the surprising effect of transforming some photos which we had previously disregarded into absolute gems – we just needed the scale and detail to appreciate them.
As it’s focused on designers and creatives, there are a variety of settings inbuilt in the monitor depending upon what you primarily use it for (i.e. CAD/CAM Mode, Animation Mode, Darkroom Mode’) and you can switch easily between these using a hotkey puck, or have two on at the same time with the Dual-Screen function. We tried-and-tested some of these (not all are relevant for our photography flow) but actually preferred creating our own custom screen setting. Overall however, the sRGB was good and, despite the size, the colouring was consistent across the width of the screen, which is really important for editing a ‘true’ image.

Aside from showing just how unforgiving f-stop 1.4 or 2.8 can sometimes be if it’s just slightly off your target, the crispness and clarity of the images on the screen also led to the discovery that a few standard steps in our workflow (like sharpening) were actually degrading a number of images, rather than improving them.
So, in terms of our photography, switching to an improved professional standard monitor resulted in a dramatic improvement in the quality, control and, indeed, quality control, of our final blog content. Since we know our readers use such a huge variety of screens, knowing an image passes the quality test on our this monitor means we know it will is guaranteed to look great on any other medium – and that counts for a lot when we place a lot of emphasis on the look and style of our blog.
We also really like how much control we have over the monitor’s angle, height and position – as the light changes in our workspace throughout the day, this flexibility is extremely important to ensure we don’t lose work to glare or obtrusive light on the screen or in our line of vision.
However, for a few other aspects in our overall blogging workflow, the monitor was actually a little too large for comfort. For example, when we are doing research on a destination, booking a trip or pulling together all our research for an article, then that inevitably results in at least 20-30 tabs staying open on our browser. Instead of the monitor’s size making this easier, it actually made switching between tabs, or finding the one you had open yesterday, quite difficult. Similarly, such a large monitor can negatively affect the look and feel of non-responsive or non-optimised websites which aren’t adjusted to its resolutions (which, unfortunately, we discovered was our own in certain areas!) If selecting again, we would probably go for the slightly smaller 27-inch version.
The equipment which underpins all the hours we spend creating on our blog is essential and, unsurprisingly, quality does win out. We spend a lot on our cameras, our lenses and our laptops but, for the next step in our blogging journey, it was essential to also spend a bit extra to ensure that, for final stage in creating beautiful content and output, we had the right monitor. The difference between our old monitor and our new benQ one is like night and day – it brings our images alive and gives us the confidence that we are only putting the best version of them out there for the world to see. Now, if only we could get brave enough to edit that first video…